Now we can switch to TMS portion setup. The idea is that I'll need to ship product(s) from WA (Zip code 98052) to GA (Zip code 30009)
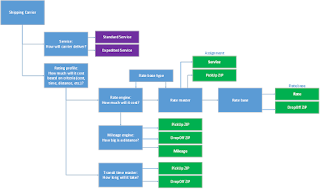
TMS (98052 -> 30009) setup process diagram
When setting up TMS portion I'll need to answer a number of questions defining how I want to transport goods. Here's the logical list of questions:
- How will transport the goods (which shipping carrier)
- How will carrier deliver the goods (what services, for example, standard or expedited)
- How much will it cost to deliver goods based on certain criteria (cost, time, distance, etc.)
- More specifically how much will it cost and why (based on service and geo location)
- More specifically how big is the distance (based on geo location)
- More specifically how long will it take to deliver the goods (based on geo location)
Once you answer these questions and set up the system appropriately you'll be ready to plan your transportation loads. Let's see how this works
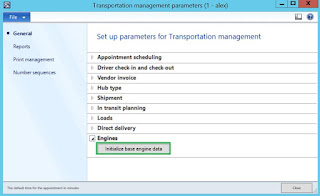
First of all I'll initialize base transportation engines data in Transportation parameters with all the engines shipped with the product which is a huge help
Transportation management parameters
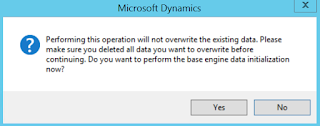
Dialog
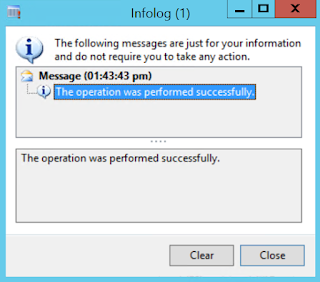
Infolog
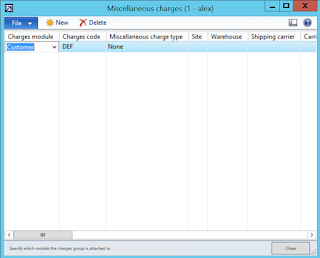
Then before I review what system has generated for me I'll define transportation Miscellaneous charge based on charge code for Charge module = Customer which is needed in order to transfer transportation charges to sales order upon Outbound shipment confirmation
Miscellaneous charges
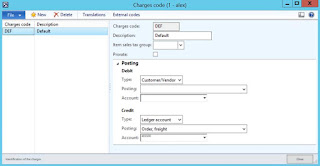
Here's how the original charge code looks like
Charges code
Please note that I specified Debit on Customer and Credit onto Ledger account
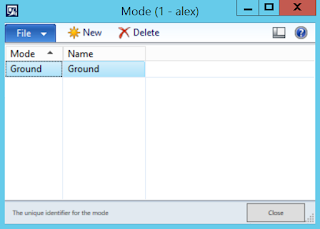
I'll also need transportation mode as defined below, I'll use "Ground" for simplicity
Mode
After this we're ready to set up transportation carrier, I'll call it "Contoso", it may be external party associated with vendor account or internal party if you operate your own fleet depending on your business requirements
Carrier
Please note that I marked "Use carrier" and "Activate carrier rating" checkboxes which is required for future transportation Rate shopping. As the next step I'll add Service to carrier using data I created earlier
Carrier - Service
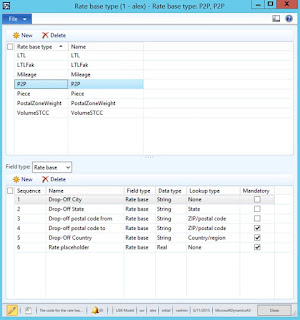
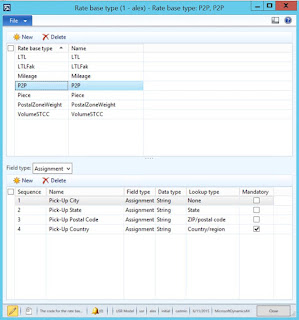
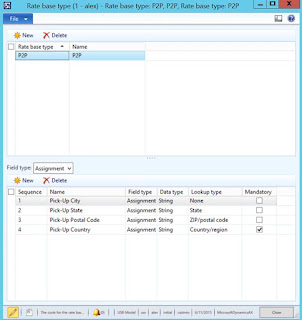
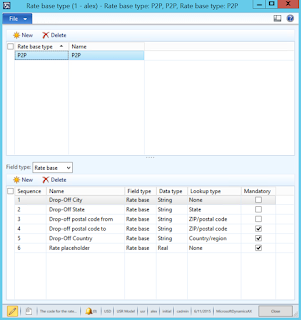
After the system initialized engines data for me a number of data elements have been created. Here's how Rate base types look like. I'll focus my attention on P2P rate base type for clarity
Rate base type – Rate base
Please notice that for P2P rate base type a certain meaningful data setup elements have been already defined. By looking at the setup I'll need at least to specify country (and Zip code) in order to define rates for the places I can expect my goods to be delivered to (Drop off …)
Rate base type – Assignment
Out of the box transportation engines come with the product in Microsoft.Dynamics.Ax.TMS.dll assembly which can be found in Server directory
Engines assembly
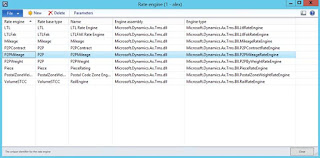
Here's the list of engines, but I'll focus my attention on P2PMileage engine for clarity
Rate engine
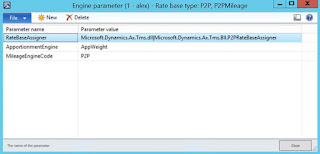
The idea is that in order to identify transportation rate P2P mileage engine will be used, the rates will be assigned based on Pick up Country (as specified in Rate base type – Assignment above), and apportionment engine based on weight will be used to apportion transportation charges onto sales order line(s)
Rate engine – P2PMileage - Parameters
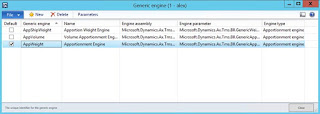
Here's the details of apportionment engine
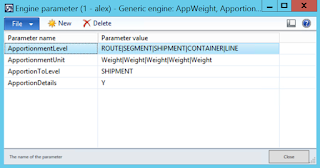
Apportionment engine (Generic engine)
For the apportionment engine in use the system will be looking at Route > Segment > Shipment > Container > Line apportionment hierarchy apportioning to Shipment level only taking into account product Weight (please recall Product physical dimensions setup to make it happen)
Apportionment engine - Parameters
Please note that there's a number of apportionment engines available as shown above. The general idea behind apportionment of transportation charges is that taking into account total amount from transportation invoice this amount gets allocated to each order line item on the associated order based on certain criteria. Apportionment criteria may be by weight (based on product data), by volume (based product data), by product cost, by price (net unit price of the product), etc.
In order to understand how transportation time is defined we'll take a look at Transit time engine
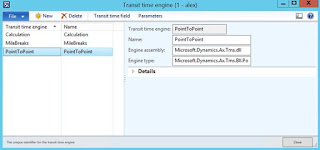
Transit time engine
Transit time engine – Details
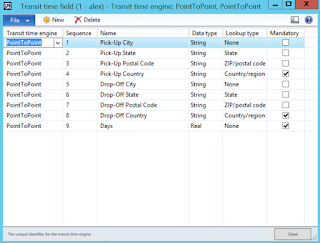
Please note that I defined 7 days to be required to transport goods from WA (98052) to GA (30009) using Standard service (STD). And this is how I can tell which data elements are required to define transit time. Transit time field screen suggests that I need to specify at least Pick up and Drop off Countries to define transit days
Transit time field
Transit time engine - Parameters
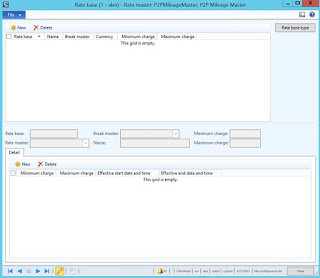
Then we'll create a rate master to define transportation rate and tie it to P2P rate base type
Rate master (created from scratch)
Below we'll see already familiar setup for Rate base type – Assignment based on Pick up Country
Rate master – Rate base type
Rate base setup is still empty, so we'll need to create appropriate setup there
Rate master – Rate base
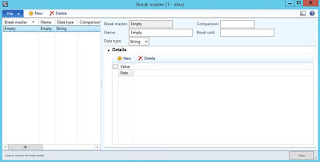
But before we do this we'll need to introduce Break master defining how we assign rates based on distance buckets. That's why we'll go ahead with creation of a new Break master
Break master (created from scratch)
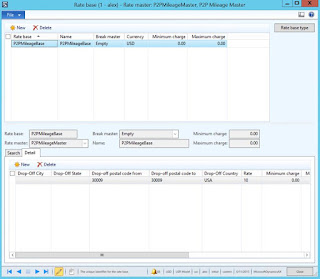
For simplicity I created Empty Break master charging for each mile as opposed to miles buckets (for example, <100 miles, <200 miles, etc.). Now we can tie it all together (Break master with Rate base setup for Rate master)
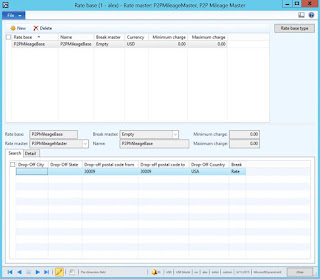
Rate base - Details
As you can see I defined that 10$ will be charges for each mile between WA (98052) and GA (30009) for simplicity
Rate base - Search
Note: In case Search screen is not showing you newly created Rate base details please refresh the screen (F5). Now we'll take another look at Rate base type – Rate base setup
Rate base type
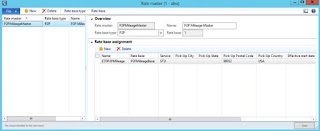
And then review the final setup pf Rate master
Rate master
Rate master – Rate base assignment
The rate will be assigned based on Pick up Country and Pick up Zip code criteria from Rate base (P2PMileageBase) for Standard Service (STD)
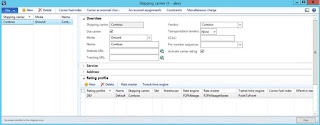
Now we have enough data to define Shipping carrier Rating profile
Shipping carrier – Rating profile
Shipping carrier – Rating profile
We still remember Rate engine setup as shown below
Rate engine
Rate engine - Parameters
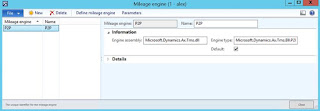
Now using Mileage engine we'll define what will be the distance between point A (WA, 98052) and point B (GA, 30009) for transportation
Mileage engine
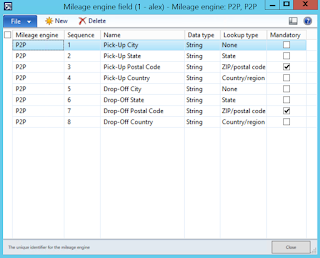
Mileage engine field setup suggest what info will be needed to define distance(s), we'll need at least Pick up Zip code and Drop off Zip code
Mileage engine field
Mileage engine - Parameters
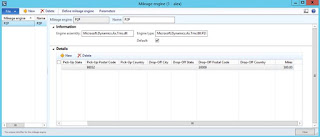
Now I can define that the distance between WA, 98052 and GA, 30009 will be 500 miles
Mileage engine - Details
Mileage engine - Details
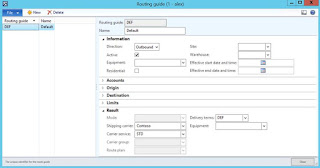
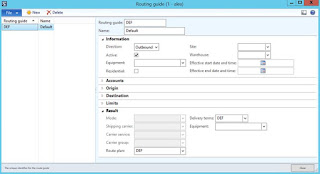
The next logical step is to define transportation route. You can define it in number of ways. For example, below I defined Route guide with Shipping carrier, Carrier service and Delivery terms criteria
Route guide
Route guide – Origin/Destination
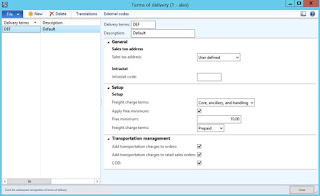
Terms of delivery
OR
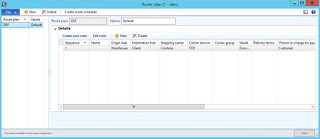
You can define Route guide using Route plan
Routing guide
Route plan
Route plan allows me to define multi-stop routes with hubs if necessary
Route plan - Details
Hub master
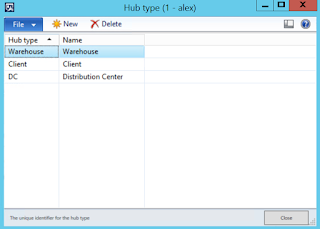
You may use different hub types, for example, Warehouse, DC (Distribution center), etc.
Hub type
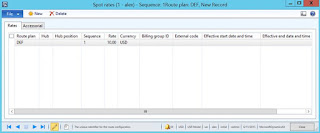
Ultimately you can define stop rates for route segments as necessary
Spot rates
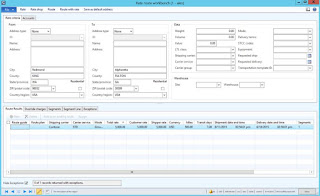
When all the setup is complete you can open Rate route workbench and do Rate shopping
Rate route workbench (Rate shop)
As the result you will see that the system will suggest transportation option exactly based on what we've set up earlier
Rate route workbench – Route results
Rate route workbench – Segments (Segment)
Rate route workbench – Segments (Details)
